Decadent and Delicious
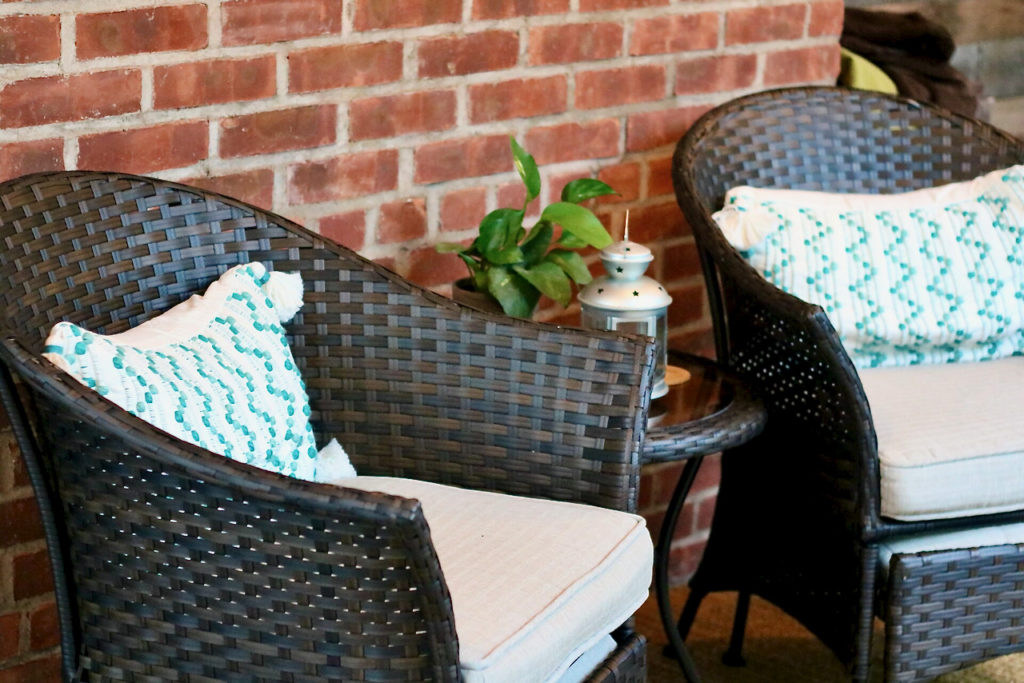
We have a screened-in porch and after ten years, we finally gave it some much needed attention. We worked hard at some serious DIY projects and together, we added a pallet wall to the porch, hung hammocks, and built our very own farmhouse style table. We turned it into the porch we always wanted.

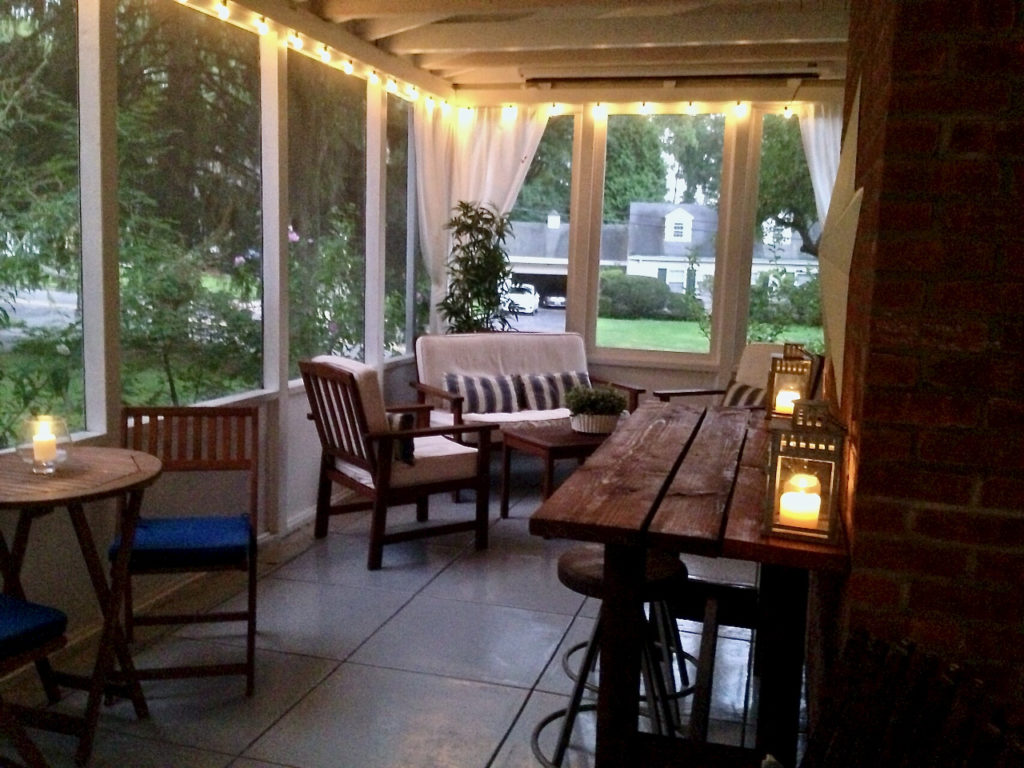
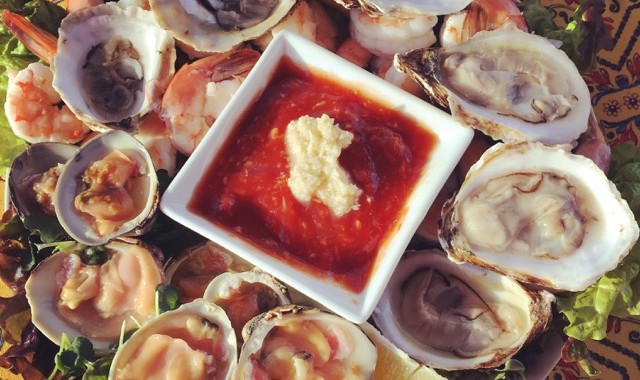
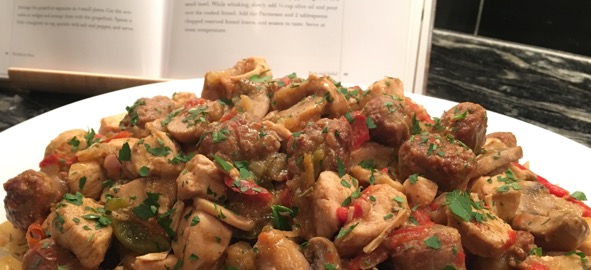
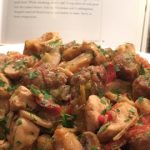
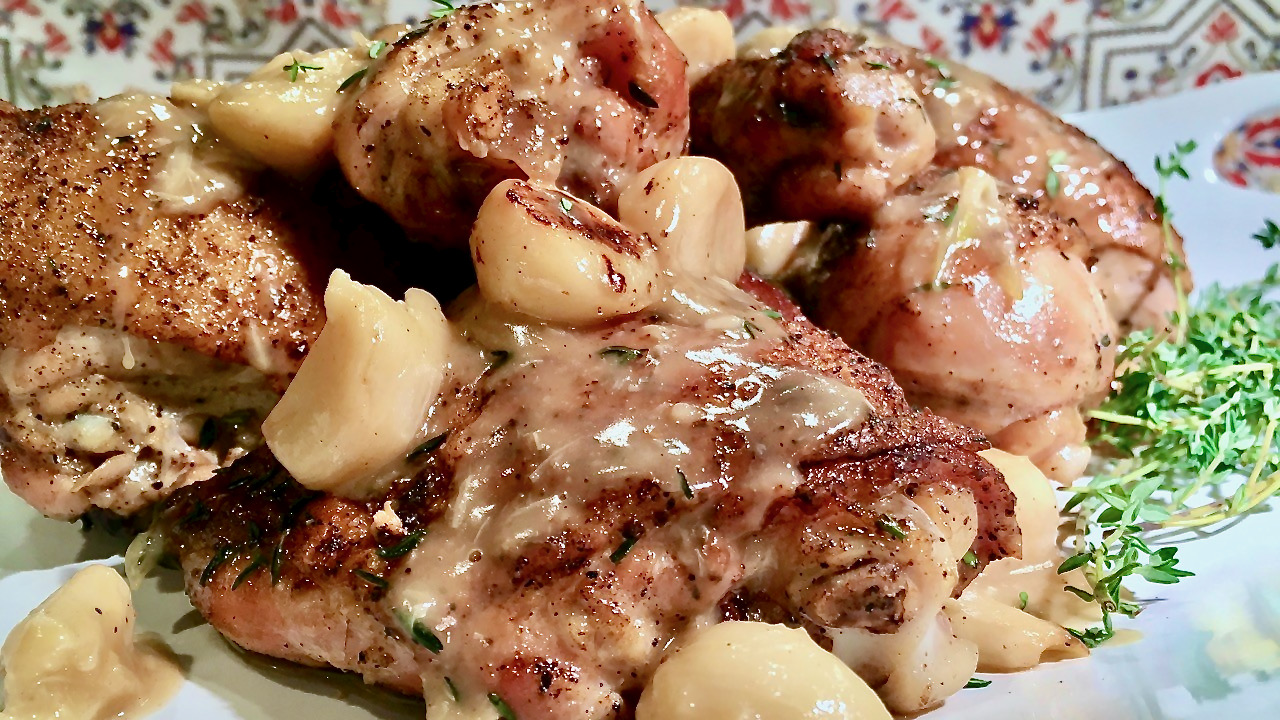
Finally, after months of hard work, it was time for Feast & Merriment with friends and neighbors. The inaugural dinner was one I gave great thought to. I wanted to create the feeling of being on a farm in France, enjoying intensely flavorful comfort foods, and sipping delicious wines with friends. (Granted, I have yet to make it to the country side of France, but this is what I picture in my head. So I’ll just roll with it.) I finally decided that the star of the evening would be the French classic, Chicken with 40 cloves.

The evening, and the chicken, were simply divine. I recommend this recipe for a special occasion served with a rich and buttery chardonnay.
Tips for this recipe:
- This is a wonderful recipe, but before you commit to it, you should know that it is an intermediate level recipe and a good amount of work to prepare. You need to commit to it and be sure to carve out enough time.
- Double or triple the sauce. You won’t regret it.
- Factor in extra clean up time for after searing off all the chicken- it splatters, takes longer than you think and not something you want to do with company in your kitchen. Once you get past that step, you’ll be on your way! I recommend searing the chicken, setting it aside, cleaning up, re-grouping, and then you’ll be on your way.
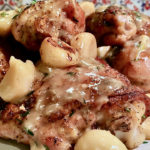
Chicken with Forty Cloves
Ingredients
- 3 whole heads garlic, about 40 cloves
- 2 (3 1/2-pound) chickens, cut into eighths
- kosher salt
- freshly ground black pepper
- 1 tablespoon unsalted butter
- 2 tablespoons olive oil
- 3 tablespoons Cognac, divided
- 1.5 cups dry white wine
- 1 tbs fresh thyme leaves
- 2 tbs all-purpose flour
- 2 tbs heavy cream
Instructions
- Separate the cloves of garlic and drop them into a pot of boiling water for 60 seconds. Drain the garlic and peel. Set aside.
- Dry the chicken with paper towels. Season liberally with salt and pepper on both sides.
- Heat the butter and oil in a large pot or Dutch oven over medium-high heat. In batches, saute the chicken in the fat, skin side down first, until nicely browned, about 3 to 5 minutes on each side. Turn with tongs or a spatula; you don’t want to pierce the skin with a fork.
- If the fat is burning, turn the heat down to medium. When a batch is done, transfer it to a plate and continue to saute all the chicken in batches.
- Remove the last chicken to the plate and add all of the garlic to the pot. Lower the heat and saute for 5 to 10 minutes, turning often, until evenly browned.
- Add 2 tablespoons of the Cognac and the wine, return to a boil, and scrape the brown bits from the bottom of the pan.
- Return the chicken to the pot with the juices and sprinkle with the thyme leaves. Cover and simmer over the lowest heat for about 30 minutes, until all the chicken is done.
- Remove the chicken to a platter and cover with aluminum foil to keep warm.
- In a small bowl, whisk together 1/2 cup of the sauce and the flour and then whisk it back into the sauce in the pot.
- Raise the heat, add the remaining tablespoon of Cognac and the cream, and boil for 3 minutes.
- Add salt and pepper, to taste; it should be very flavorful
- Pour the sauce and the garlic over the chicken and serve hot.